How to Add Multiple Restaurant Locations in Max Hesabi
Learn how to add branches, assign managers, organize users, and compare sales, expenses, inventory, staff costs, and profit across multiple restaurant or food business locations in Max Hesabi.
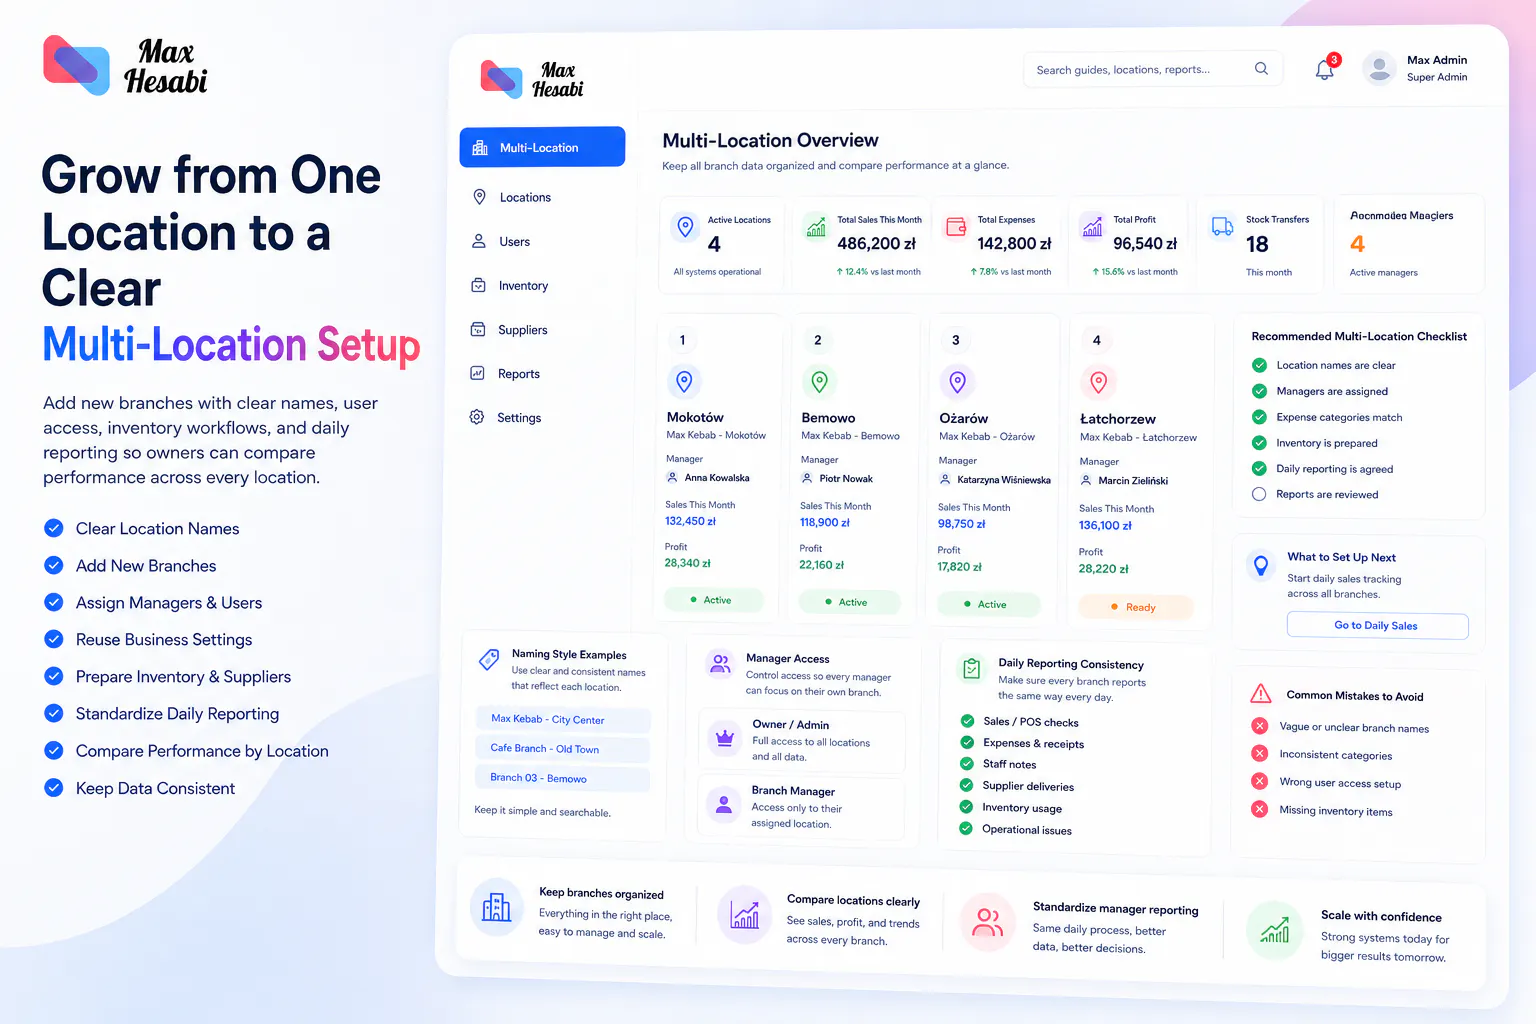
Grow from One Location to a Clear Multi-Location Setup
After your first restaurant, kebab shop, cafe, or food business location is set up, the next step is adding additional branches in a way that keeps reporting clean and easy to manage.
Max Hesabi lets each location have its own sales, expenses, inventory activity, staff records, suppliers, and manager updates while owners keep one central view of the whole business.
Step 1: Decide How You Want to Name Locations
Before adding more branches, choose a naming style your team can understand immediately. Clear names make reports, user assignments, and daily manager work much easier.
Good location names can include:
- City or district name
- Street name
- Branch number
- Brand plus location name
- Shopping center or area name
For example, names like “Max Kebab - City Center” or “Cafe Branch - Old Town” are easier to understand than generic names like “Location 2”.
Step 2: Add the New Location
Create the new location inside your organization and add the details your team needs to identify it. Each location should represent a real branch, restaurant, food shop, or operating site.
Once added, the location can have its own daily sales, expenses, staff records, inventory updates, stock transfers, and operational activity.
Step 3: Assign Managers and Users
After adding the location, assign the right users to it. Owners and admins may need access to all locations, while branch managers should usually only access the branches they manage.
A clean user setup helps you:
- Keep sensitive business data protected
- Let managers report daily activity for their own branch
- Avoid users seeing locations they do not manage
- Keep responsibility clear across the team
- Build a better audit trail for updates and records
Step 4: Copy or Reuse the Right Business Settings
Most locations share similar expense groups, supplier types, inventory categories, and reporting needs. Use the structure from your first location as a guide, then adjust anything that is different for the new branch.
Useful settings to review include:
- Expense categories
- Inventory items
- Supplier records
- User roles and permissions
- Manager daily reporting routines
- POS or invoice workflows
Step 5: Prepare Inventory and Supplier Workflows
Each location may buy different quantities, use different suppliers, or transfer stock between branches. Set up the inventory and supplier workflow clearly so stock movement does not become confusing later.
For restaurants and kebab shops, pay special attention to high-impact items like meat, ingredients, packaging, drinks, and daily supplies.
Step 6: Set Expectations for Daily Reporting
Every branch should follow the same basic daily reporting rhythm. This makes location comparison much easier and prevents owners from chasing updates manually.
Branch managers may need to record:
- Daily sales or POS checks
- Expenses and receipts
- Staff time or employee payment notes
- Supplier purchases and deliveries
- Inventory usage, waste, or damaged items
- Operational issues that owners should know about
Step 7: Compare Performance Across Locations
Once more than one branch is active, Max Hesabi becomes especially useful for comparison. Owners can review sales, costs, inventory activity, payroll, and profit by location instead of treating the whole business as one unclear number.
You can use location comparison to understand:
- Which branch is most profitable
- Where expenses are increasing
- Which location uses more stock than expected
- How staff costs compare across branches
- Whether sales growth is turning into real profit
- Which manager routines are working best
Step 8: Keep Location Data Consistent
Multi-location reporting is only useful when each branch records information in a consistent way. If one manager records detailed expenses and another skips categories, reports become harder to trust.
Review your setup regularly and keep names, categories, inventory items, supplier records, and manager routines consistent across the business.
Common Mistakes to Avoid
- Creating vague branch names that are hard to recognize
- Giving managers access to locations they do not manage
- Using different expense categories for the same type of cost
- Forgetting to add inventory items before stock activity begins
- Comparing locations before daily reporting routines are consistent
- Waiting until month-end to fix setup problems
Recommended Multi-Location Checklist
Location names are clear
Each branch is easy to recognize in reports and user assignments.
Managers are assigned
Every branch has the right users with the right access level.
Expense categories match
Costs can be compared across locations without confusion.
Inventory is prepared
Important stock items and supplier workflows are ready for the new branch.
Daily reporting is agreed
Managers know what to submit and when to submit it.
Reports are reviewed
Owners compare sales, costs, stock activity, staff costs, and profit regularly.
What to Set Up Next
After adding multiple locations, the next guide should cover daily sales tracking. Once sales are recorded consistently across branches, you can compare performance more accurately and connect revenue with expenses, inventory, staff costs, and profit reporting.