How to Set Up Max Hesabi for Your First Restaurant Location
A practical getting-started guide for restaurant owners, kebab shops, cafes, and food business operators who want to set up locations, users, expenses, inventory, suppliers, and reporting in Max Hesabi.
Start with a Clean Business Setup
Max Hesabi works best when your business structure is clear from the beginning. Before adding sales, expenses, inventory, or staff records, set up the organization and the first location correctly.
This guide walks through the main setup steps for a restaurant, kebab shop, cafe, or food business using Max Hesabi for the first time.
Step 1: Create Your Organization
Your organization is the main account that holds your locations, users, roles, suppliers, inventory records, expenses, and reports. Use the business name your team recognizes so owners, admins, and managers can easily understand where they are working.
At this stage, make sure the basic business details are correct because they will be used across your reports and internal workflows.
Step 2: Add Your First Location
A location can be one restaurant, kebab shop, cafe, branch, or food shop. Each location can have its own sales, expenses, stock activity, staff records, and manager updates.
When adding a location, include details that help your team identify it clearly, such as the branch name, city, or area. This is especially useful if you plan to add more locations later.
A clean location setup helps you compare performance, assign users correctly, and keep reports organized.
Step 3: Invite Users and Assign Roles
Max Hesabi supports different access levels so each person can work with the right information. Owners and admins may need full visibility, while branch managers should usually only access the locations they manage.
Common user roles include:
- Owner or business admin
- Location manager
- Staff member with limited access
- Finance or operations user
Set roles carefully from the start. Good permissions make it easier to delegate daily work without losing control of sensitive business data.
Step 4: Set Up Expense Categories
Expense categories help you understand where money is going. Instead of recording every cost as a generic expense, organize them into clear groups that match how your business operates.
Useful categories may include:
- Rent and utilities
- Food and ingredients
- Meat purchases
- Packaging and supplies
- Staff and payroll costs
- Repairs and maintenance
- Marketing and delivery platform fees
Clear categories make profit reporting much more useful later.
Step 5: Add Suppliers
Suppliers are important for tracking purchases, stock costs, balances, and recurring business expenses. Add your main suppliers early so purchases and inventory records can be connected from the beginning.
For restaurants and kebab shops, this may include meat suppliers, ingredient suppliers, drink suppliers, packaging suppliers, cleaning suppliers, and service providers.
Step 6: Create Inventory Items
Inventory items are the products, ingredients, packaging, and supplies you want to track. Start with the items that matter most to profit and daily operations.
For many food businesses, the first inventory items should include:
- Meat and high-cost ingredients
- Core food ingredients
- Drinks
- Packaging
- Cleaning and daily supplies
You do not need to add everything at once. Start with important items, then expand the list as your team gets comfortable.
Step 7: Connect Sales and Reporting Workflows
If your business uses Dotykacka POS, Max Hesabi can support POS sales import where configured. This helps reduce manual sales entry and keeps reporting closer to the real numbers.
Even before integrations are connected, make sure your team understands how daily sales, payment breakdowns, refunds, expenses, and manager updates should be recorded.
Step 8: Train Managers on Daily Activity
Branch managers should know what they are responsible for inside Max Hesabi. A simple daily routine keeps the system useful and prevents missing information.
Managers may need to record:
- Daily expenses
- Staff time or employee payment notes
- Stock activity and damaged items
- Operational issues
- Daily sales or POS checks
- Supplier purchases or deliveries
The goal is not to create extra admin work. The goal is to capture the information owners need without chasing every update manually.
Step 9: Review Your First Reports
Once your first location is active, review the reports regularly. Look at sales, expenses, payroll, supplier costs, stock activity, and profit together. This helps you understand whether the setup reflects the way your business actually runs.
If something is unclear, adjust categories, inventory items, user roles, or manager routines early. A good setup gets stronger over time.
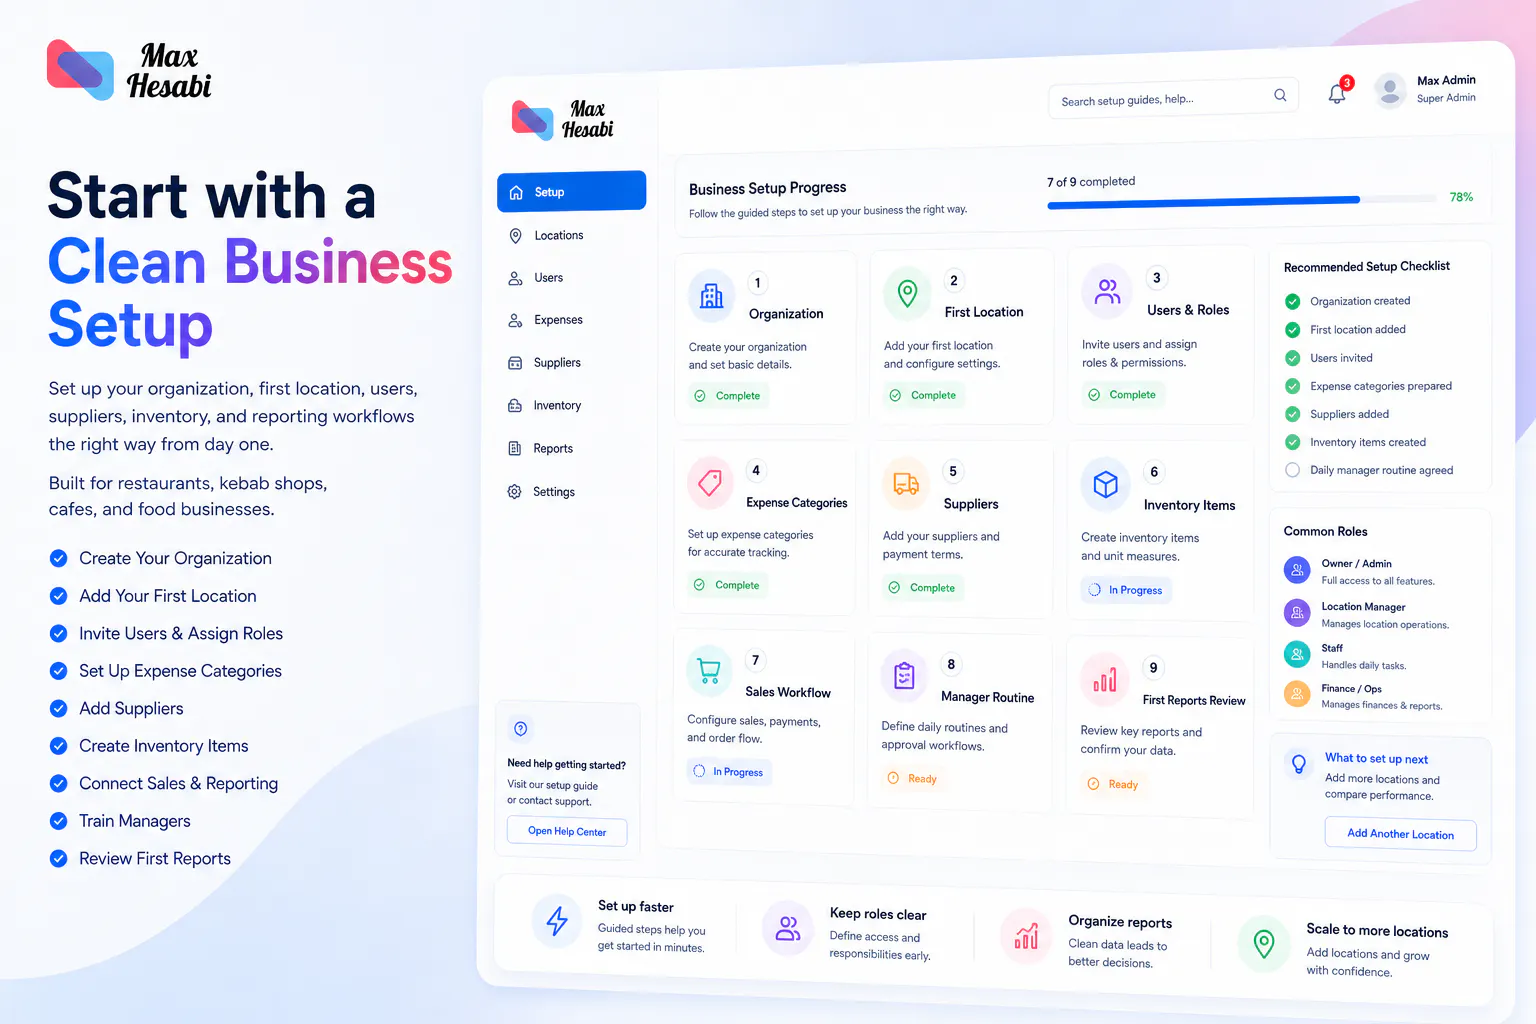
Recommended Setup Checklist
Organization created
Your main business account is ready and named clearly.
First location added
Your restaurant, kebab shop, cafe, or branch is set up correctly.
Users invited
Owners, admins, managers, and staff have the right access.
Expense categories prepared
Costs can be recorded in a way that makes reports useful.
Suppliers added
Purchases and supplier balances can be tracked from the start.
Inventory items created
Important ingredients, meat, packaging, and supplies are ready to track.
Daily manager routine agreed
Managers know what to report and when to report it.
What to Set Up Next
After your first location is running, the next guide should cover how to add more locations and compare performance across branches. Once the structure is in place, Max Hesabi becomes more useful for sales reporting, inventory control, staff costs, supplier tracking, and profit decisions.